Learn how to use Korg Triton as a module on your Mac with this step-by-step guide. Discover setup tips, DAW integration, troubleshooting, and unleash iconic sounds in your digital workflow!
Table of Contents
Introduction Of Use Korg Triton
The Korg Triton has long been a staple in the music production world, beloved by professionals and hobbyists alike for its rich sounds and flexibility. But if you’re a Mac user, connecting the Triton as a module might seem a bit daunting. Fortunately, with the right setup, you can harness the power of the Korg Triton on your Mac, integrating its iconic sounds into modern production workflows.
In this guide, we’ll walk you through everything you need to know about using the Korg Triton as a module on a Mac, from setup to troubleshooting, with insights on why this setup remains a top choice for many producers. Let’s dive in and unlock a world of sound possibilities!
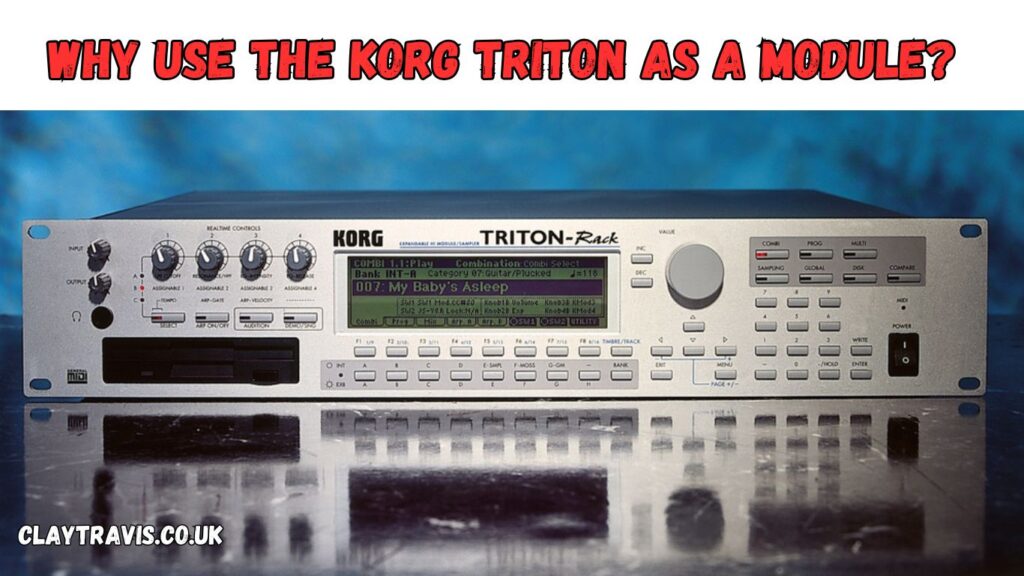
Why Use the Korg Triton as a Module?

Before we get into the technical details, let’s understand why so many musicians seek to use the Korg Triton as a module with their Mac setup.
- Iconic Sounds: From the 90s to today, the Korg Triton’s sounds are instantly recognizable and highly versatile.
- Modern Integration: Using the Triton as a module allows you to bring those classic sounds into your digital audio workstation (DAW) on your Mac.
- Creative Flexibility: A modular setup offers endless possibilities for sound design, making it easy to create unique compositions by combining digital and analog elements.
Step 1: Gathering What You Need
To use your Korg Triton as a module on your Mac, you’ll need the following:
- Korg Triton Keyboard or Rack Module
- MIDI Interface or USB-MIDI Cable (if your Mac doesn’t have MIDI inputs)
- Audio Interface (if you plan to capture audio directly from the Triton)
- Digital Audio Workstation (DAW) like Logic Pro, GarageBand, or Ableton Live
- Audio Cables and Adapters
Most of these items are easily found at music stores or online retailers. Double-check the compatibility of your MIDI interface with MacOS to avoid connection issues.
Step 2: Connecting Your Korg Triton to Your Mac
2.1 Connecting via MIDI
- Connect the MIDI Out port on your Korg Triton to the MIDI In port on your MIDI interface (or USB-MIDI cable).
- Connect the MIDI Interface to your Mac via USB.
- Check MacOS MIDI Setup: Open the “Audio MIDI Setup” application on your Mac. This will help ensure that the Mac recognizes your MIDI interface and Triton as a connected device.

Tip: If you’re using a USB-MIDI cable, ensure it’s firmly connected and correctly assigned in both your DAW and the “Audio MIDI Setup” tool.
2.2 Connecting via Audio
If you want to capture the Triton’s audio directly, connect an audio cable from the Triton’s Audio Out to your audio interface’s Audio In. Set up your DAW to recognize the audio interface, and you’ll be able to record audio straight from the Triton into your Mac.
Step 3: Setting Up Your Digital Audio Workstation (DAW)
Each DAW has different ways of configuring external MIDI devices, but here’s a general approach:
- Add a New MIDI Track: In your DAW, add a MIDI track for your Korg Triton.
- Select MIDI Output: Choose the Triton as your MIDI output so that your DAW can send MIDI information to the keyboard.
- Assign Audio Inputs: If you’re recording audio, ensure the audio input on your DAW corresponds to the audio interface’s input channel for the Triton.
Pro Tip: Most DAWs allow you to name your external devices. Labeling the track as “Korg Triton” can help you stay organized, especially if you’re working with multiple external devices.
Recommended DAW Settings
- Latency: Lower the buffer size for real-time MIDI response; just be cautious of potential CPU overloads.
- Clock Sync: Enable clock sync between the DAW and Triton to keep everything perfectly timed.
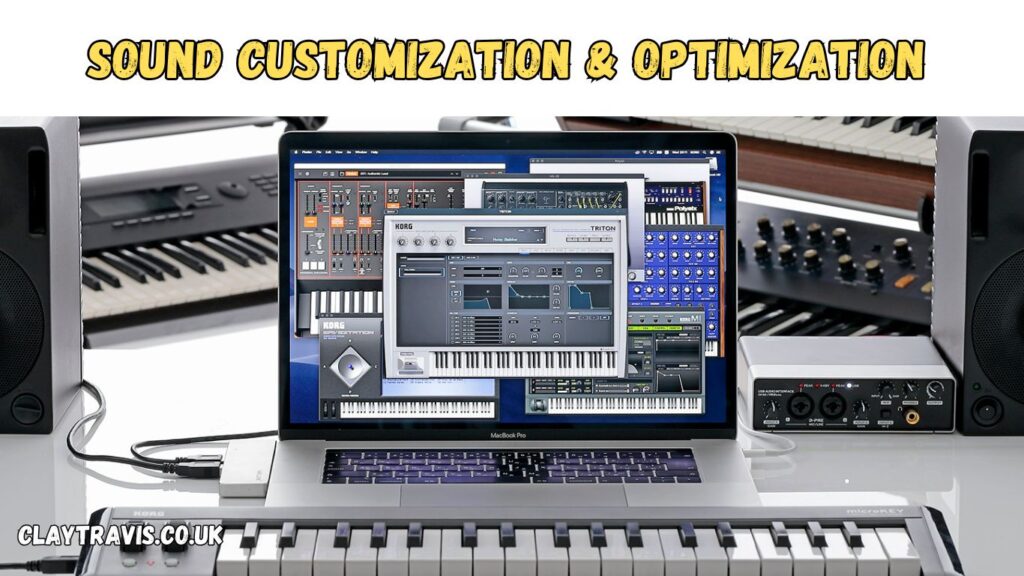
Step 4: Sound Customization & Optimization

Once everything is connected, you can begin to explore the Triton’s vast sound library in conjunction with your DAW. Here are a few tips:
- Layer Sounds: Use the Triton’s layered sounds with your DAW’s instruments to create rich, multi-textured tracks.
- MIDI Automation: In your DAW, automate parameters like pitch, modulation, and volume for added expression.
- Effect Chains: Try routing Triton sounds through DAW-based effects like reverb or chorus, layering new dimensions onto its iconic patches.
Expert Insight: Many producers prefer to keep Triton sounds “dry” and add effects afterward in their DAW. This gives you more control over how effects interact with other elements in your mix.
Troubleshooting Common Issues
Even with the right setup, you may encounter a few bumps. Here are some common issues and solutions:
Issue 1: MIDI Not Responding
- Solution: Recheck your MIDI cables and ensure the MIDI interface is correctly assigned in both the DAW and Mac’s Audio MIDI Setup.
Issue 2: No Sound Output
- Solution: Confirm that the audio routing from the Triton is configured correctly in both the audio interface and DAW settings.
Issue 3: Latency Problems
- Solution: Lower the buffer size in your DAW to minimize delay. Avoid using too many virtual instruments simultaneously, as this can increase CPU load and latency.
Why Mac Users Should Consider the Korg Triton as a Module
The Triton remains a powerful tool for musicians and producers who value authentic, iconic sounds. By setting up the Triton as a module on Mac, users can seamlessly integrate classic hardware with modern software tools, opening up vast creative possibilities. Here’s a brief look at why Mac users love this setup:
- High-Quality Sound Reproduction: Triton’s hardware sounds are known for their depth and realism, which still rival many modern software instruments.
- Enhanced Workflow: By integrating Triton with a Mac-based DAW, users gain access to advanced sequencing, sampling, and mixing tools while retaining Triton’s unique sound characteristics.
- Cost-Effective Solution: For those who already own a Triton, using it as a module avoids the need for purchasing additional virtual instruments.
Conclusion: Start Creating with the Korg Triton on Your Mac
With the right setup, the Korg Triton can be a valuable addition to any Mac-based studio, delivering an analog-meets-digital workflow that blends the best of both worlds. Whether you’re a seasoned professional or new to music production, integrating this classic hardware with modern Mac tools can provide unparalleled flexibility and inspiration.
FAQs
1. Can I use the Korg Triton as a module on Mac without an audio interface?
Yes, you can use the Korg Triton as a MIDI-only module by connecting it to your Mac with a USB-MIDI cable. However, to record its audio output, an audio interface is recommended for high-quality sound capture.
2. What DAWs are compatible with the Korg Triton on Mac?
Most major DAWs, including Logic Pro, Ableton Live, GarageBand, and Pro Tools, support the Korg Triton as an external MIDI device. Ensure your DAW recognizes the MIDI interface or USB-MIDI connection.
3. How do I fix latency issues when using the Korg Triton on my Mac?
Lower the buffer size in your DAW’s audio settings to reduce latency. Be cautious, as this may increase CPU usage. Optimizing your Mac’s performance, like closing unused applications, can also help reduce lag.
4. Can I use the Korg Triton sounds with virtual instruments in my DAW?
Yes, you can layer Triton sounds with virtual instruments for rich textures. By routing both the Triton and virtual instruments through your DAW, you can create complex and unique soundscapes.
5. Is there a way to add effects to Korg Triton sounds in my DAW?
Absolutely! Connect the Triton’s audio output to your DAW via an audio interface, then add effects like reverb, delay, and compression within the DAW to customize and enhance the Triton’s sounds.

